One of our partners approached us with a pretty interesting requirement. They currently manage a fund that operates businesses from a portfolio of 4 different industries. This means, they want to create a special section on their site for investor relations and downloads.
Can Our Investors Download Files Securely on our WordPress-powered Site?
With their current site built on the WordPress platform, they wanted a way to upload monthly, quarterly and annual financial reports as well as investor decks for fund raising. On top of that, they also wanted to make sure that some files are only viewable to certain people. To illustrate, a fund investor will have access to all files while an investor that only placed money in one business will only have access to that folder.
They examined several options before, ranging from Dropbox/Box (cheap, but has little room for customization) to full-blown Enterprise Document Management systems (expensive and too cumbersome to deploy).
The Solution: It’s All About Using Plugins Creatively
Instead of building one from scratch, you can actually implement a bonafide file management system using a cocktail of WordPress plugins. The benefits from a cost and project timeline perspective makes this whole exercise worth looking at. While it’s not a one-size-fits-all solution, this approach should give you something that actually works!
For this tutorial you’ll be needing the following WordPress Plugins:
- Download Manager – This will serve as the main engine of the file management page of your site. From here you’ll create folders and manage file access permissions.
- WP Login Box – The idea here is to “hide” the WordPress interface to your end users. This plugin provides you with an embeddable login box on your downloads page.
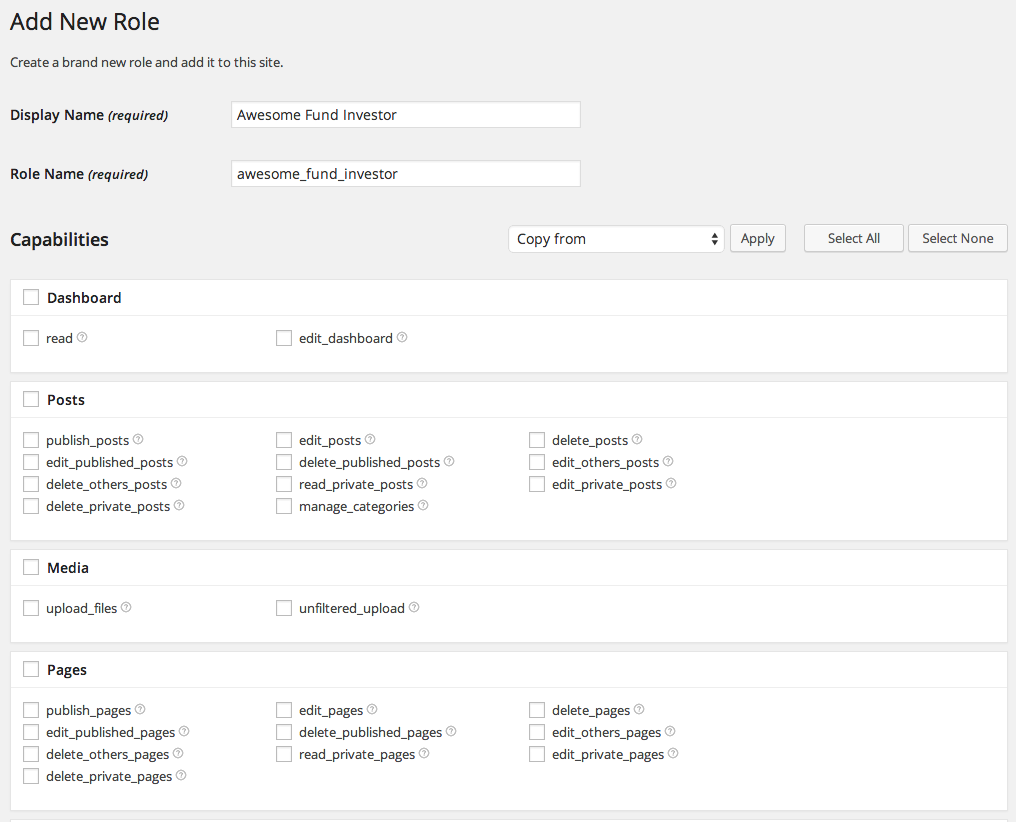
- WPFront User Role Editor – You will need this to create custom user roles on top of standard WordPress default roles (I.e. Admin, Editor, Author, Contributor etc). We’ll need this because we have to create roles specific to your investors.
Of course this assumes that you already have an existing WordPress-powered website and have the ability to create pages without breaking your site template. This solution just requires a simple shortcode embed.
- Prepare Your Workspace – Make sure you’ve already installed the three plugins we mentioned above. It goes without saying that you should be doing this on your test server and have performed all the necessary backups necessary to perform this exercise.
- Create your Downloads Page – We are creating a special Downloads section on your site. You can do this by creating a vanilla WordPress page here and make sure that the page template you’re using is not meant for blog archives and other “specialized” pages. We want this to be as basic as possible. We’re essentially getting all these plugins to do the work for you.
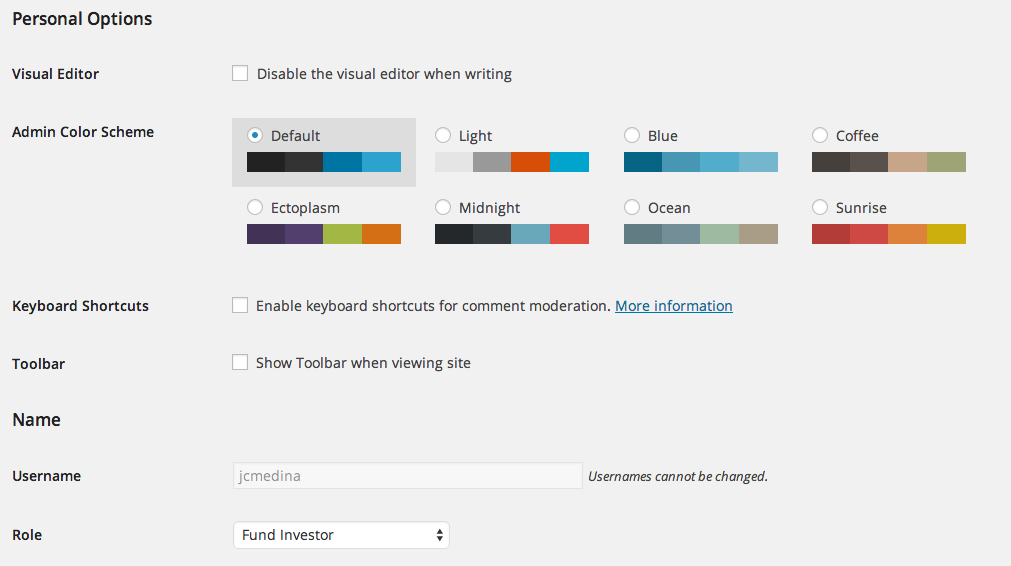
- Create your custom roles – This is where the WPFront User Role Editor comes into play. For this exercise, you would want to create three types, Investor Type A (all access), Investor Type B (access to project 1), Investor Type C (access to project 2). Of course, the plugin won’t really ask where you plan to use these so as a rule of thumb. Just fill-in the display name and role name (or just the required fields). Leave everything blank.
- Create your download folders – Okay, time to fire up your Download Manager setting by clicking on the link on the left pane. Click on “Add New”.
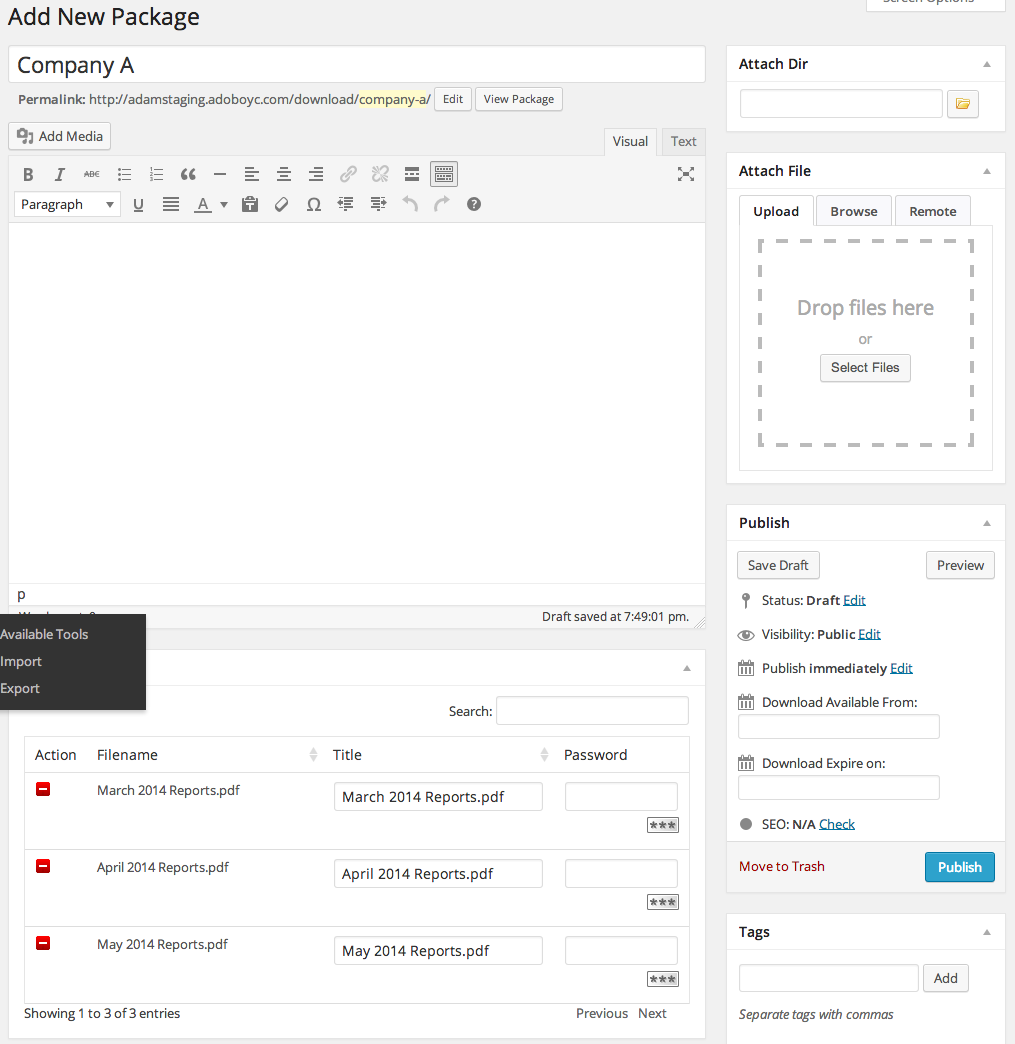
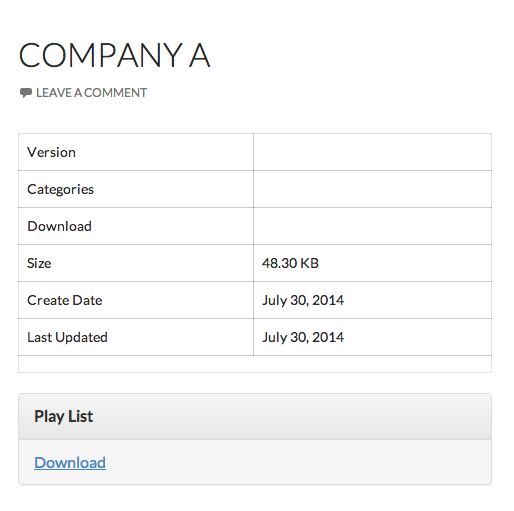
- Upload Your Files – You’ll probably have your own way of organizing files. In this example, we’re sorting it by company (one of many). I uploaded three files here representing monthly reports.
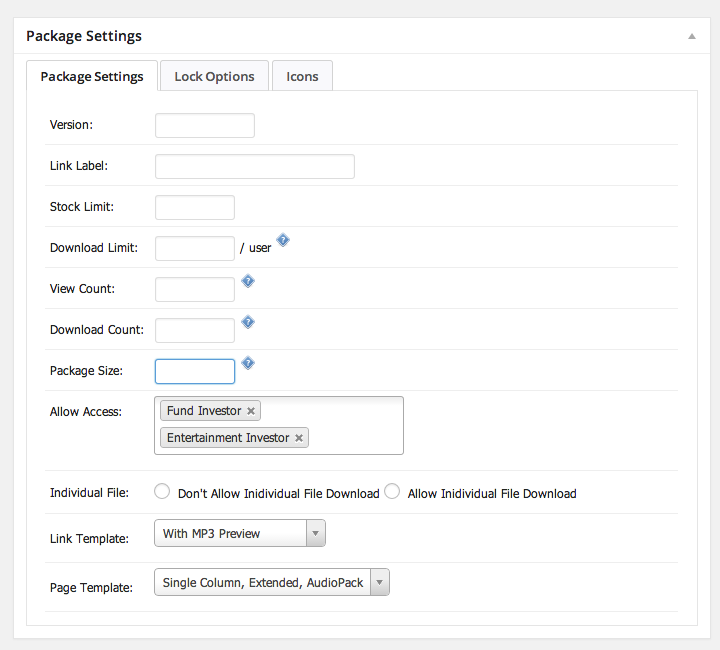
- Put Finishing Touches on the Folder – You want to make sure that these folders are only accessible to users with all the necessary permissions. You can simply configure that from the same folder interface by scrolling down to the bottom. It uses all visitors by default so remove that first then add the correct user types in the “Allow Access” box.
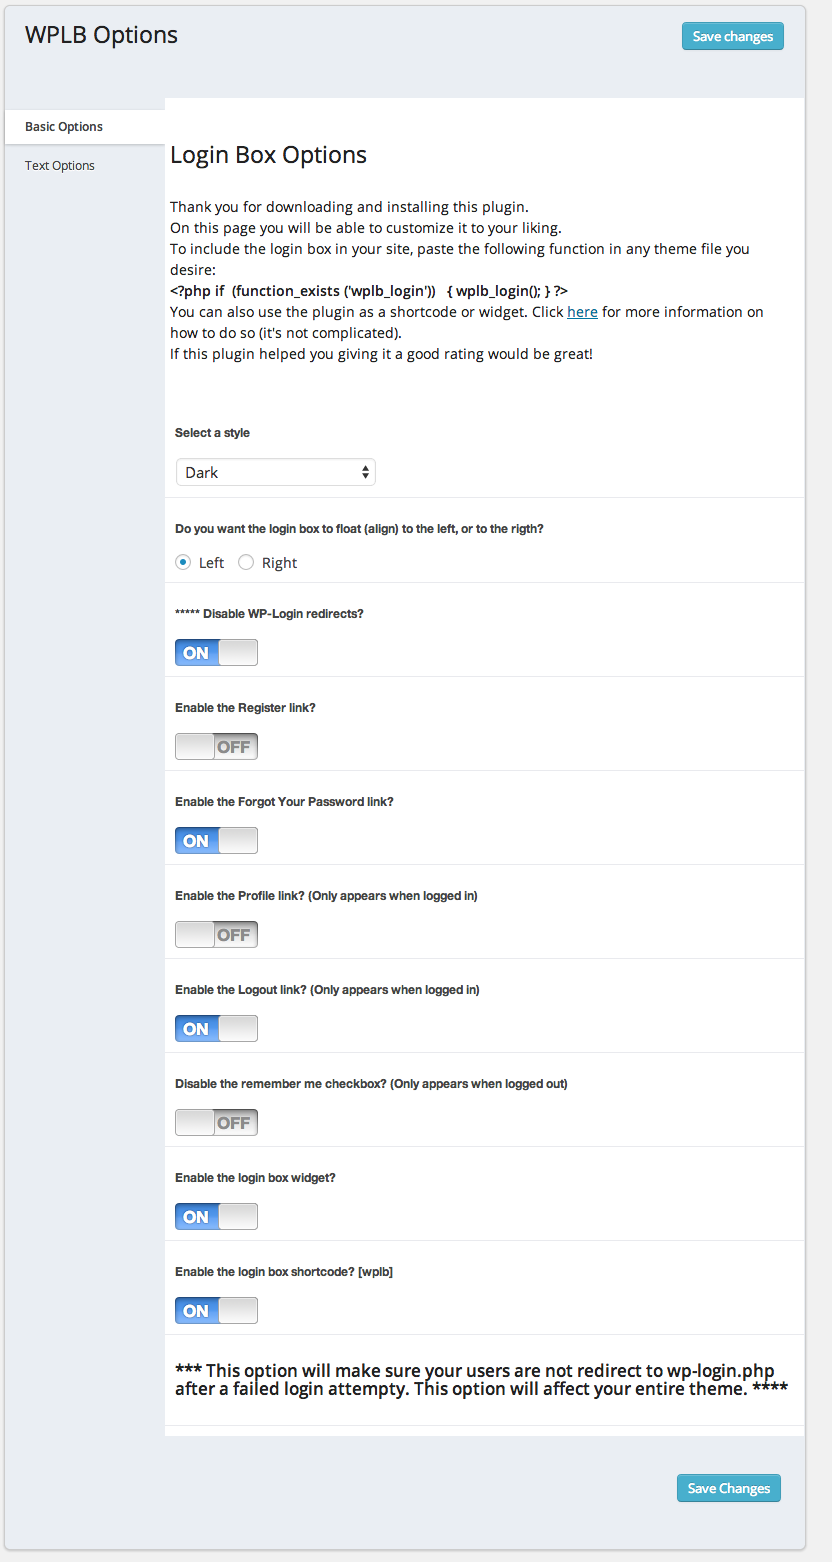
- Configure and Embed the Login Shortcode. – Just add the shortcode [wplb] on the downloads page.. It’s as simple as that. Make sure you emulate the settings here!
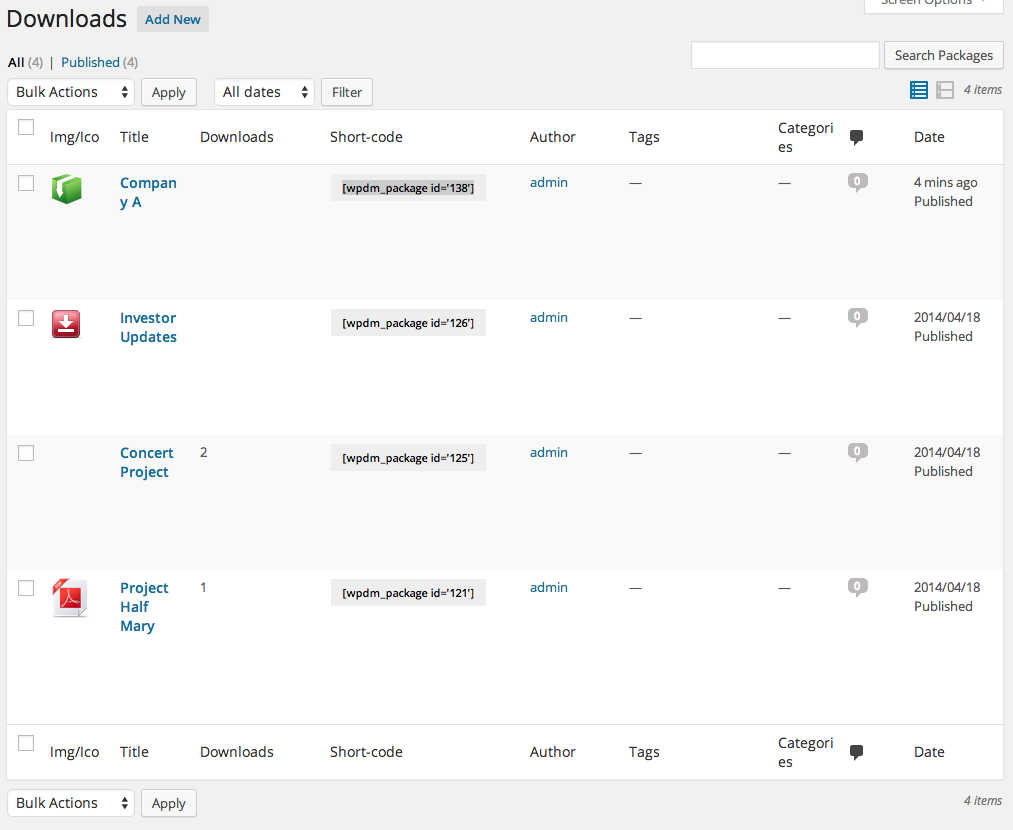
- Embed your packages. – Same as what we did for the login box. Put ALL of the package shortcodes on the page.

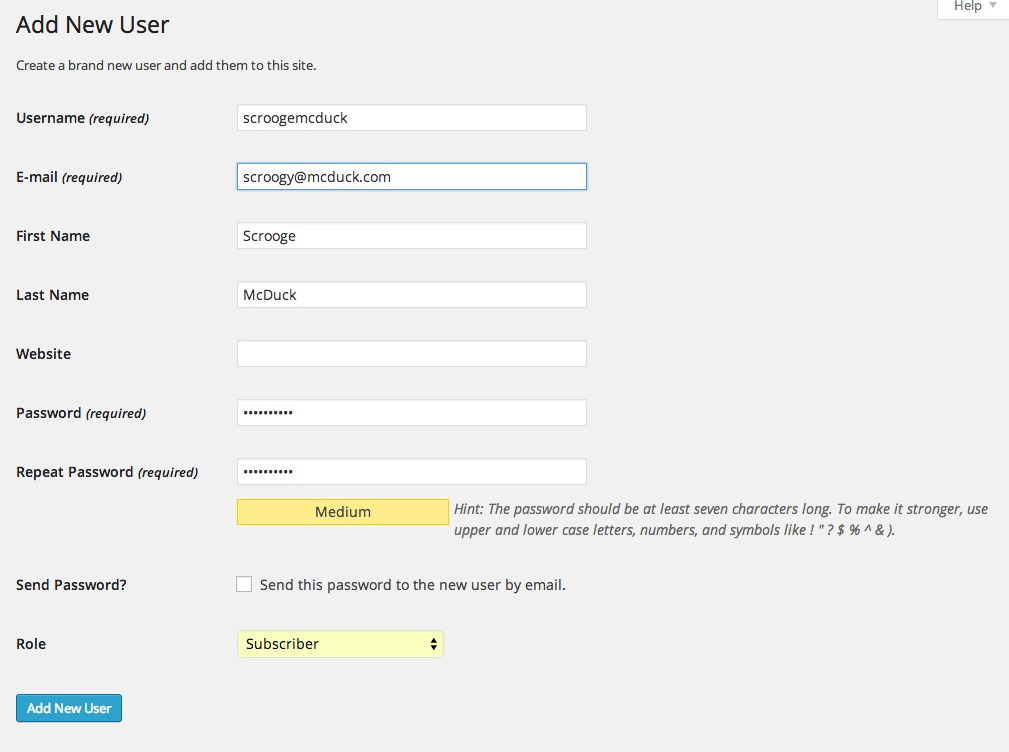
- Create Your User Accounts (don’t confuse this with roles) – We want to hide the fact that we’re using WordPress here so as a good measure, just untick the box here.
- Change the CSS – Most of the plugins mentioned in this article allow you to put in your custom CSS. Just ask your developer to do this.
If you followed all these steps. The whole flow should look like this:

User Logs in….
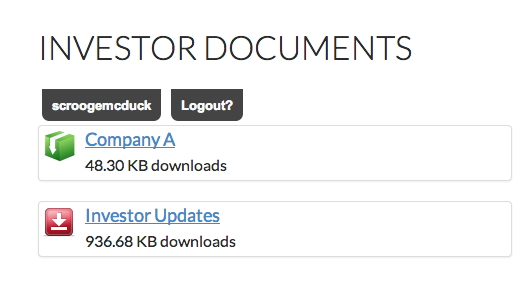
User Sees Multiple Folders
…and start downloading!
So there you have it! If follow all the instructions correctly (and your files are ready) you can do all of these steps in less than an hour.
Have you considered implementing other document management solutions on WordPress? Let us know!